How to Refill a Fountain Pen: The Beginner's Guide
Welcome to the world of fountain pens. If you are new to fountain pens and how they work, it can be confusing and even frustrating. One thing that many new users have questions about is how to refill a fountain pen.
In this article, I am going to break down how to fill it with ink and how to write with a fountain pen. I'm also going to throw in some sweet tips for getting the most out of your fountain pens. And once you get started, you will truly enjoy your new writing instrument.
First, however, you need to at least be a little bit familiar with the parts of a fountain pen before going in and changing out the ink.
The Major Parts of the Fountain Pen
1.) The Nib
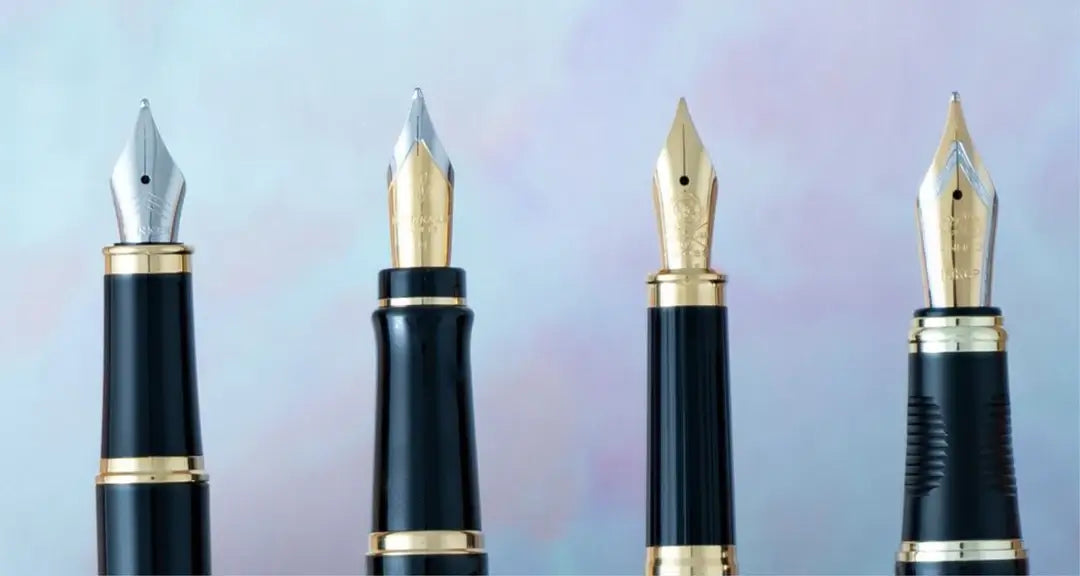
The fountain pen nib is the metal point where the tip of the pen comes in contact with the paper. The nib is usually fashioned out of stainless steel or gold alloys that allow the point to flex with the movement and pressure of writing.
Once upon a time, nibs were predominantly made out of soft metals like gold that are naturally anti-corrosive, but alas, these metals are not the most durable and often crack or the tips break off. When you find a gold pen nib nowadays, they usually have a hard metal tip to prevent these issues.
The little slit and hole in the nib serve integral purposes of both feeding ink to the tip and preventing structural damage to the pen while it is in use.
The "breather hole" also allows air back into the reservoir to prevent a vacuum. Air vacuums in fountain pens are bad—"pen exploding all over white clothing on an airplane" bad. See below for more info on this and how to prevent that sort of catastrophe.
You can find a variety of sizes for the point from extra fine to double broad. Each size serves its own purpose, but a fine or medium nib are great sized for beginners.
There is also an entire category of nibs for calligraphy, drawing, and more.
2.) The Feed
The fountain pen feed is that black plastic piece on the backside of the nib. It creates a route to draw ink to the tip and allows air to flow back up into the reservoir.
| Further Reading: The Ultimate Guide to the Different Types of Fountain Pen Ink |
3.) The Ink Reservoir
The ink reservoir is exactly what it sounds like: it's the place where the fountain pen ink goes.
The two most common fountain pen ink filling systems are:
- disposable ink cartridges
- piston ink converters
Most fountain pens use universal 1/4 inch refill ink cartridges. But it is always good to check and make sure you have the correct ink cartridge for your particular pen. If the cartridge came with the pen, either loose in the packaging or in the barrel, you are good to use that cartridge.
Disposable Ink Cartridges
The disposable ink cartridge is a plastic tube filled with ink that is inserted into the internal opening of the feed.
Ink cartridges are pretty hassle-free, but they aren't as cost-effective as converters.
Piston Ink Converters
An ink converter is a reservoir that allows you to draw ink up into the barrel of the pen, essentially creating your own ink cartridge.
Ink converters work either with a piston (where you twist the knob at the top drawing ink into the reservoir) or as a rubber tube (where you squeeze the air out of the reservoir, place it in the fountain pen ink, and then release it to draw the ink in through air pressure).
Ink converters require bottled ink to fill your fountain pen, so you'll likely have to buy that separate, but there are so many options out there for fountain pen ink.
Some fountain pens allow for both converters and ink cartridges interchangeably. Other than that, your fountain pens will come with the converter built into the pen itself.
| Shop Now: Ink Pen Refills From Dayspring Pens |
How to Refill a Fountain Pen
How to Load Disposable Ink Cartridges:
- Unscrew the barrel from the grip section
- Insert the sealed end of the cartridge into the grip section and press firmly. You will likely feel the seal break when the cartridge is securely lodged Note: in most ink cartridges, the sealed end will be the narrower section with the ridge.
- Reassemble your pen
How to Load an Ink Converter into a Fountain pen:
Before beginning, you will need:
- the correct converter for your brand of fountain pen
- bottled ink
- a piece of paper towel
Here's how to load your ink converter:
- Remove the cap and unscrew the barrel from the grip.
- Insert the converter into the opening, pressing firmly until it stops moving.
- Twist the knob of your converter to send the piston all the way to the bottom of the converter. (You should see the piston descending to the bottom of the converter.)
- Submerge the nib past the breather hole into the ink bottle and twist knob in the opposite direction to draw ink into the reservoir, filling the converter with ink. You will see the reservoir fill.
- Remove the nib of the pen from the bottle, reassemble the barrel of the pen, and your pen is ready for use.
The table below compares different ink refill types:
| Refill Type | Characteristics | Common Brands |
| Bottled ink | Wide variety of colors, cost-effective | Diamine, Waterman, Noodler's |
| Ink cartridges | Convenient, mess-free | Cross, Pilot, Lamy, Montblanc |
| Converter | Allows the use of bottled ink | Pilot, Waterman |
Tips for Getting Your Ink Flowing:
For the disposable cartridge:
It can take a moment for the ink to saturate the cartridge pen and flow through the feed. Don't worry if your fountain pen does not start writing straight away.
If the ink does not begin flowing after a couple of minutes, you can gently squeeze the cartridge to get the nib wet, or dip the nib in water to start the flow. When you use a water to start the ink, your ink flow will start quite "watery". Just scribble on paper until pure ink flows.
For the ink cartridge converter:
Since the entire nib is dipped in the ink bottle, the pen should start writing very quickly because it is already saturated in ink.
If needed, you can always remove the barrel and twist the fully loaded converter to release just a drop or two of ink from the tip. Fair warning, if you twist too much, you will drip a lot of ink so be prepared with a paper towel or water.
How to Use a Fountain Pen:
Now that you understand how to refill a fountain pen and your luxury fountain pen is filled with ink and ready to go... how the heck to you use this thing?
In a lot of ways... just like any other pen! Here are just a couple tips to make writing with fountain pens easier, but all in all once your pen has ink flowing you should be pretty good go.
Tip #1: Place the pen at a 45 degree angle.
Tip #2: Don't press too hard.
Fountain pen nibs need much less pressure to write than a ballpoint pen since they have liquid ink. Just moving the tip evenly across the paper should yield the best results.
Pressing too firmly can actually damage the pen causing the nib to bend or crack
Tip #3: Use higher quality paper.
It can be helpful to grab some higher quality paper especially for first time users. Printer or notebook paper can be thinner and harder to work with.
Problems caused by paper include the pen skipping, the ink running, and the ink feathering (when the ink bleeds into the fibers of the paper).
Tip #4: Cap your fountain pen
It is important to keep your pen cap on when you are not using it. Since the ink often has water in it, the ink in the nib can dry if left exposed to air and will not write when you go to use it next.
Fret not if your pen dries out! Just scribble for a bit or wet the nib with a little water to rehydrate the ink.
Tip #5: Clean your fountain pen regularly.
Every 1-2 months, it's good to do a quick cleaning of your fountain pen so everything keeps running nice and smooth.
I like to clean my fountain pen whenever I refill the converter or pop in a fresh disposable cartridge.
For pens that have not been used in a while and are particularly dried out, try dropping the feed and nib structure into a cup of water and letting it soak for an hour or so. Rinse and repeat till your water stays clear.
Tip #6: Store your fountain pen properly.
How you store your fountain pen will largely come down to how much you use it. All in all, the best way is to store it laying flat. This allows the ink to stay wet in the nib without excess ink pooling in the cap.
| Learn More: How To Store a Fountain Pen Properly |
Other Frequently Asked Questions
Here are some questions and problems you may come across now that you are entering the fancy world of those who write with fountain pens.
Can a Left-handed person use a fountain pen?
Most definitely! Though it will take a little bit of getting used to. How you hold the pen and where you position your writing hand will be much more critical for a lefty. Standard holds may cause the hand to drag through the wet ink and smear.
Brian Goulet recommends trying different writing hand positions.
Also, using quick-drying inks will also help.
Do I need to "break in" my fountain pen?
Most likely no. Modern fountain pens are normally ready-to-go once they've been loaded with ink.Can I take my fountain pen on an airplane?
You sure can, but just in case...
Back in the day, the reduced air pressure on a plane in flight would cause air in the reservoir to expand, pushing the ink out of the pen for a big old frocket ink stain.
Modern fountain pens have fixed this issue, so you really shouldn't have this problem.
If you want to be on the safe side or if you are traveling with an antique, remove the ink from your pen, and store your pen in a separate bag before you fly.
Can I use my pen in freezing weather?
Alas, no.
Fountain pen ink is liquid based so it will freeze. Stick with a ballpoint pen for any arctic writing endeavors.
Can I write upside down with a fountain pen?
Nope. Gravity is crucial for using fountain pens.
Conclusion
I hope this has helped you from feeling daunted by how to refill a fountain pen.
You are now fully equipped to chuck that old ballpoint away, fill your new fountain pen with a cartridge or ink bottle, and get to writing.
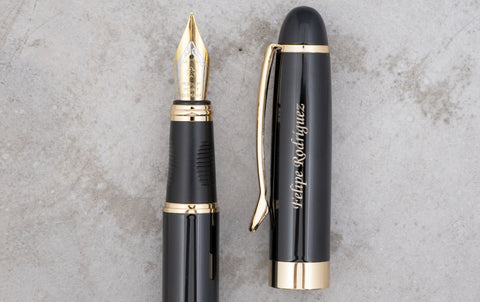
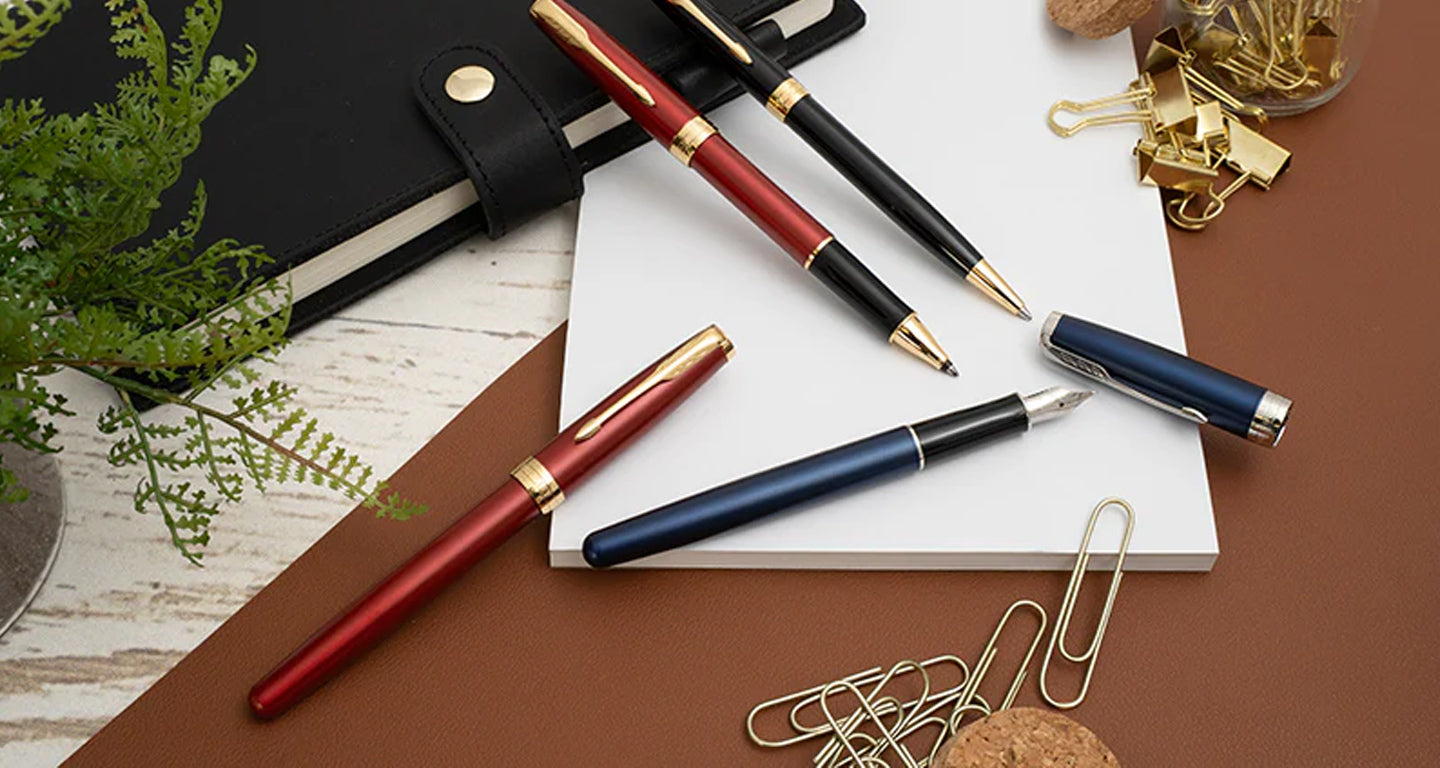
If you're looking to buy a new fountain pen, check out our wide selection of engraved pens from brands like Cross, Parker, and Waterman. Or check out our list of best-selling pens!
Before you go, please feel free to leave a comment with your thoughts, questions, or fountain pen stories!
|
Sam Di Nardo is an author for Dayspring Pens, where she has honed her expertise in ballpoint, rollerball, gel and fountain pens since joining the team in 2018. From her initial role as an Engraver to becoming the Production Manager, Sam's journey has been marked by her passion for the history, manufacturing, and the unique value of gifted writing instruments. A graduate of Regent University with a degree in English Literature and a special interest in Old Norse literature, dive deeper into Sam's world and discover why she's your trusted guide in the realm of gift pens. |
6 comments
Hi Lynn,
Here is a step by step:
1. Unscrew the barrel from the grip section
2. Insert the sealed end of the cartridge into the grip section and press firmly. You will likely feel the seal break when the cartridge is securely lodged Note: in most ink cartridges, the sealed end will be the narrower section with the ridge.
3. Reassemble your pen
Also, the video attached to this blog post actually show a pen very similar to the Jinhao x450 fountain pen. The section with that pen demonstrates filling a piston converter inside one of those pen, but the process demonstrated at the start of the video (filling a Waterman Expert with a cartridge) will be identical to filling a Jinhao. Hope this helps!
Hi Sam,
We need appreciate it if you could provide specific instructions, point by point, on how to insert ink cartridges into a JINHAO x450 fountain pen. Thanks so much.
@ANNIE I hope it helps!
Thank you so much for your detailed instructions. I can hardly wait to follow your instruction it will remove a lot of frustration… I hope to master this lost art. Thanks again, Annie
Hi Greg,
The cartridge will need to be pressed firmly into the opening until you either feel the snap of cartridge being punctured or the cartridge is snugly in the opening. Once the cartridge is punctured, it will stay in the barrel without any additional pressure due to the tension and seal around the puncture.


